This post is sponsored by Panasonic but all thoughts and views are my own.
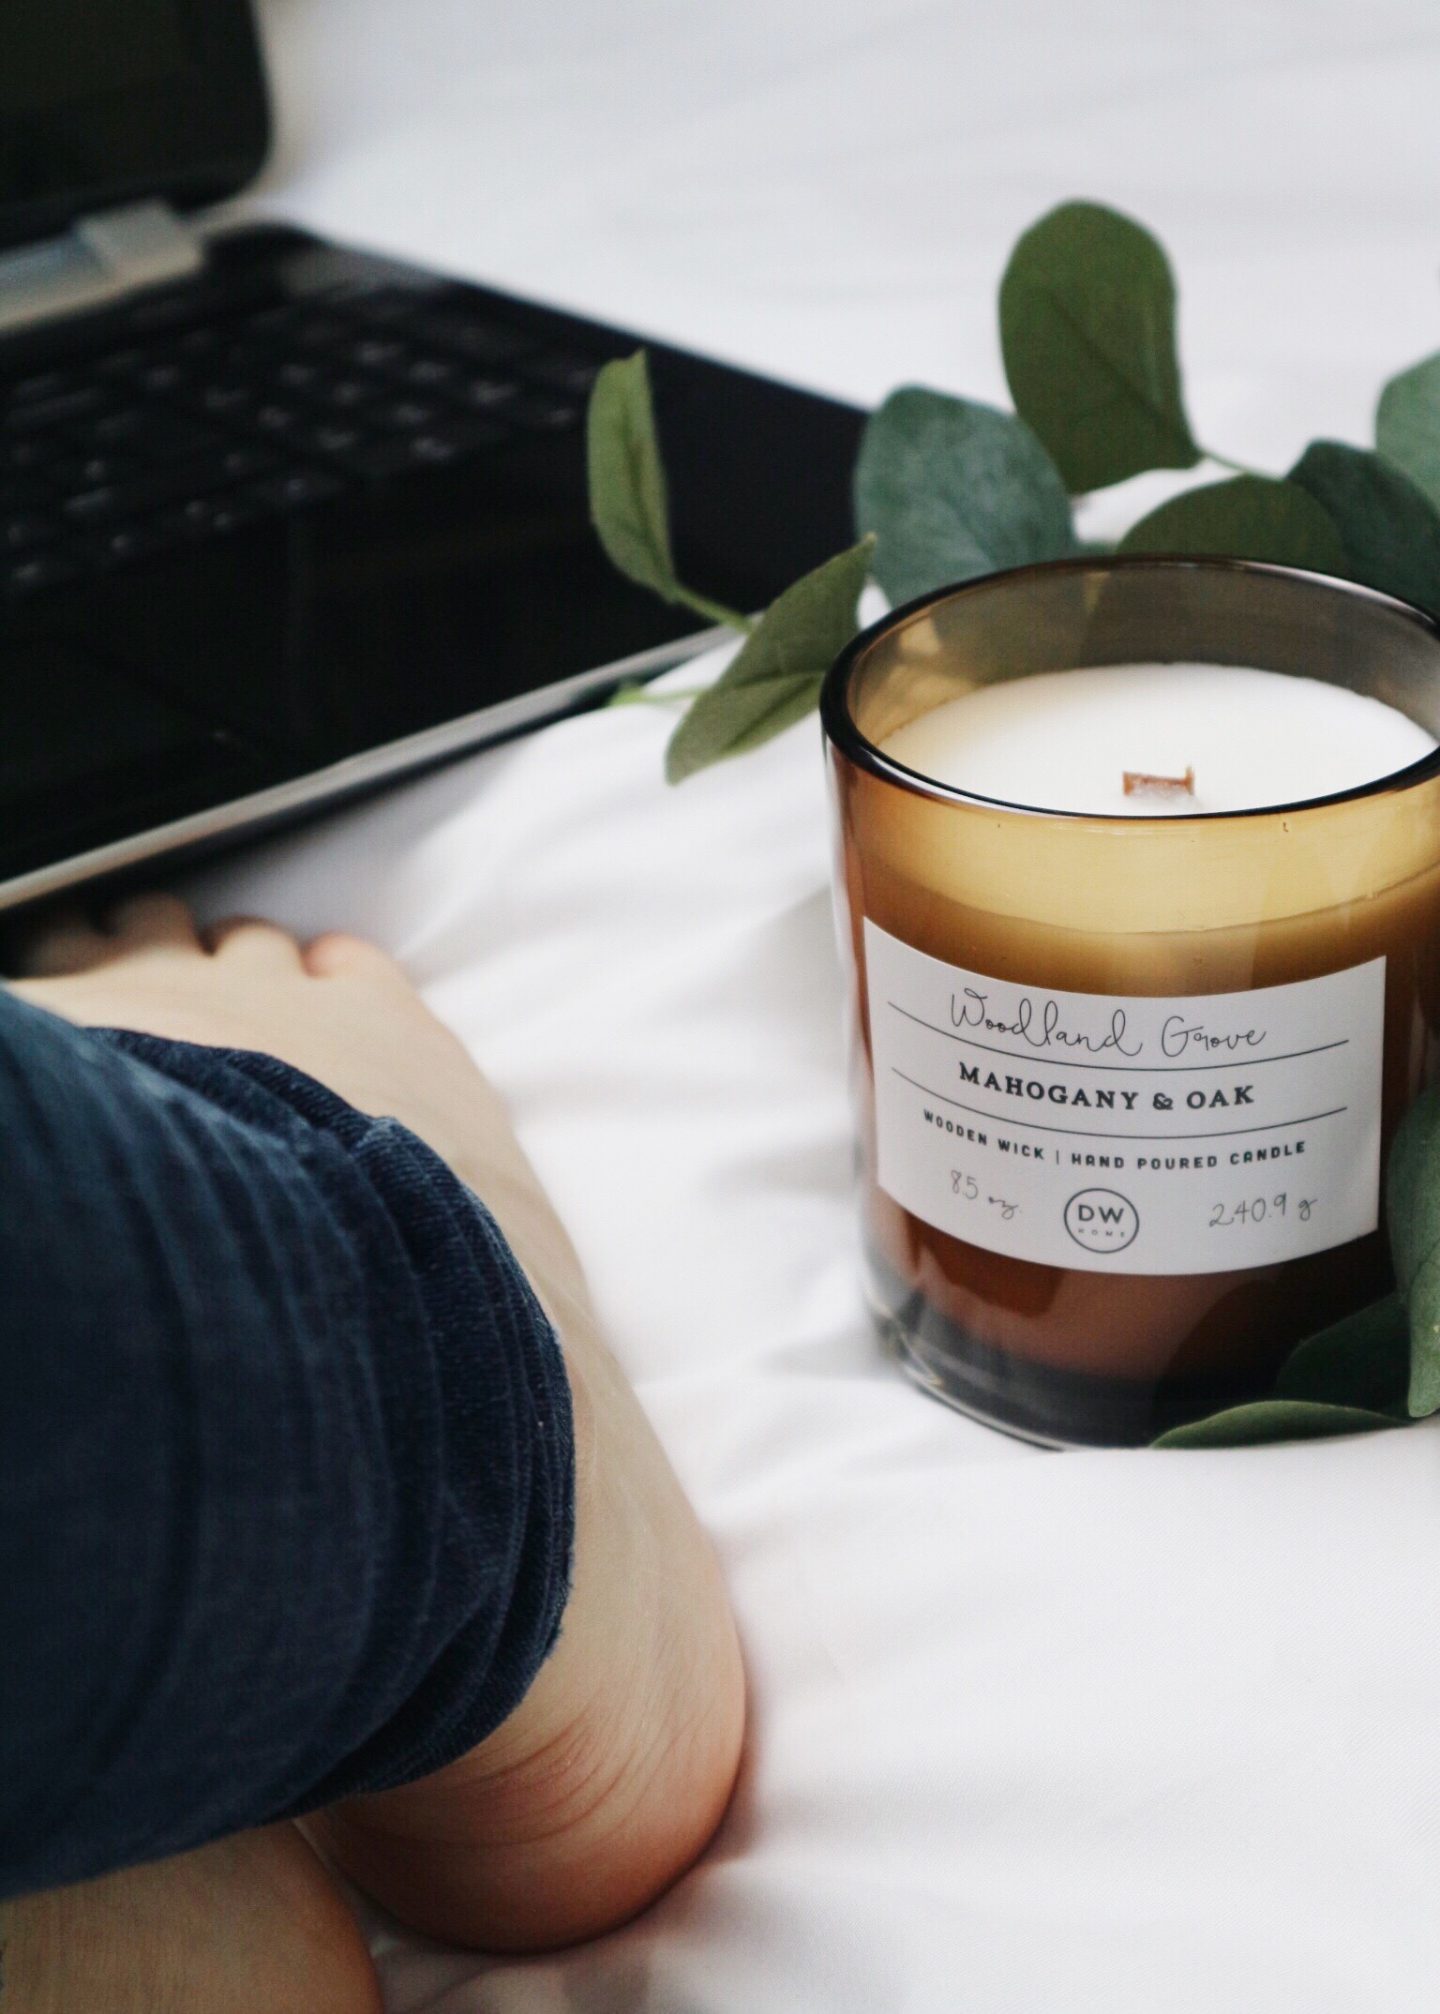
Today, I’m bringing you a very requested post of how I take and edit my Instagram photo’s which is in collaboration with Panasonic and along side their release of the new LUMIX waterproof camera which is honestly perfect for adventures all over the world and capturing memories to remember forever. It’s compact, has a 4K camera and it’s waterproof.. I mean if you’re a travel blogger I don’t think you could get a more perfect camera!
I’ve recently changed up my ‘theme’ on Instagram (I hate saying theme because I don’t really see it as one I just do the same edit to every photo) and I’ve had a lot of people ask how I take my photo’s and how I edit them so I hopefully I’ll be able to explain in this post how I do it all!
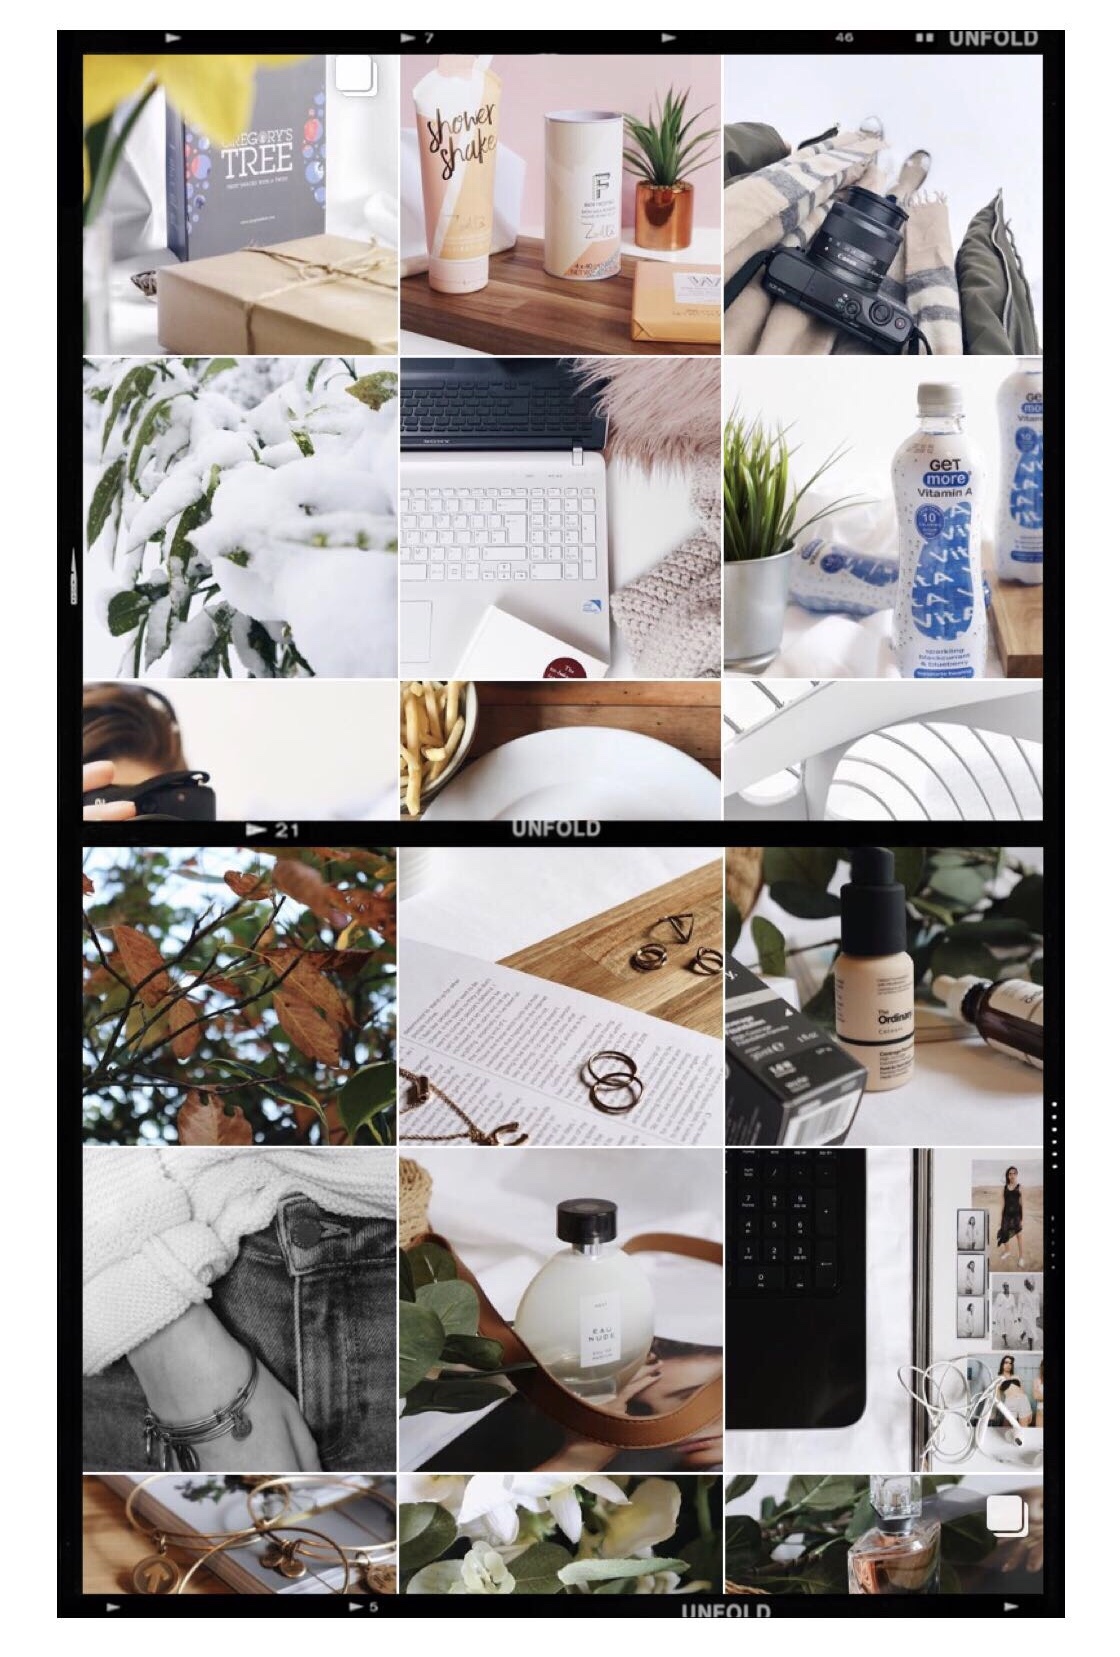
As you can see below, my Instagram feed has changed throughout this year, from bright and white images in February to more dark and autumnal in October. Don’t get me wrong I liked having bright photo’s on my feed but just felt it wasn’t me. I was taking photos for other people and the gram and was so obsessed with making sure the brightness was up enough and making sure the white was white enough, I know it sounds stupid but I just got caught up in my feed.
Let’s talk about what I use to take my photo’s.. I always use my camera which is the Cannon EOS M10 with a 15-45mm lens which I’ve been obsessed with ever since I got it for Christmas 2 years ago, It honestly changed the game for me. I hardly ever use my iPhone for photography now, it’s not that it doesn’t take good photos because it does I just love my camera too much and the quality you just can’t compare.
How I take my photo’s
My Instagram photo’s are mostly product photography as I’m still trying to get comfortable with outfit photo’s, I mean you’ll see a few selfies here and there but nothing major. I have got a tripod but haven’t thought about using it outdoors and I don’t really have many people to take photos with so I’m I not sure I’d feel comfortable with carrying around a tripod and shooting myself in public but I’m going to try and get more creative indoors and see what I come up with.
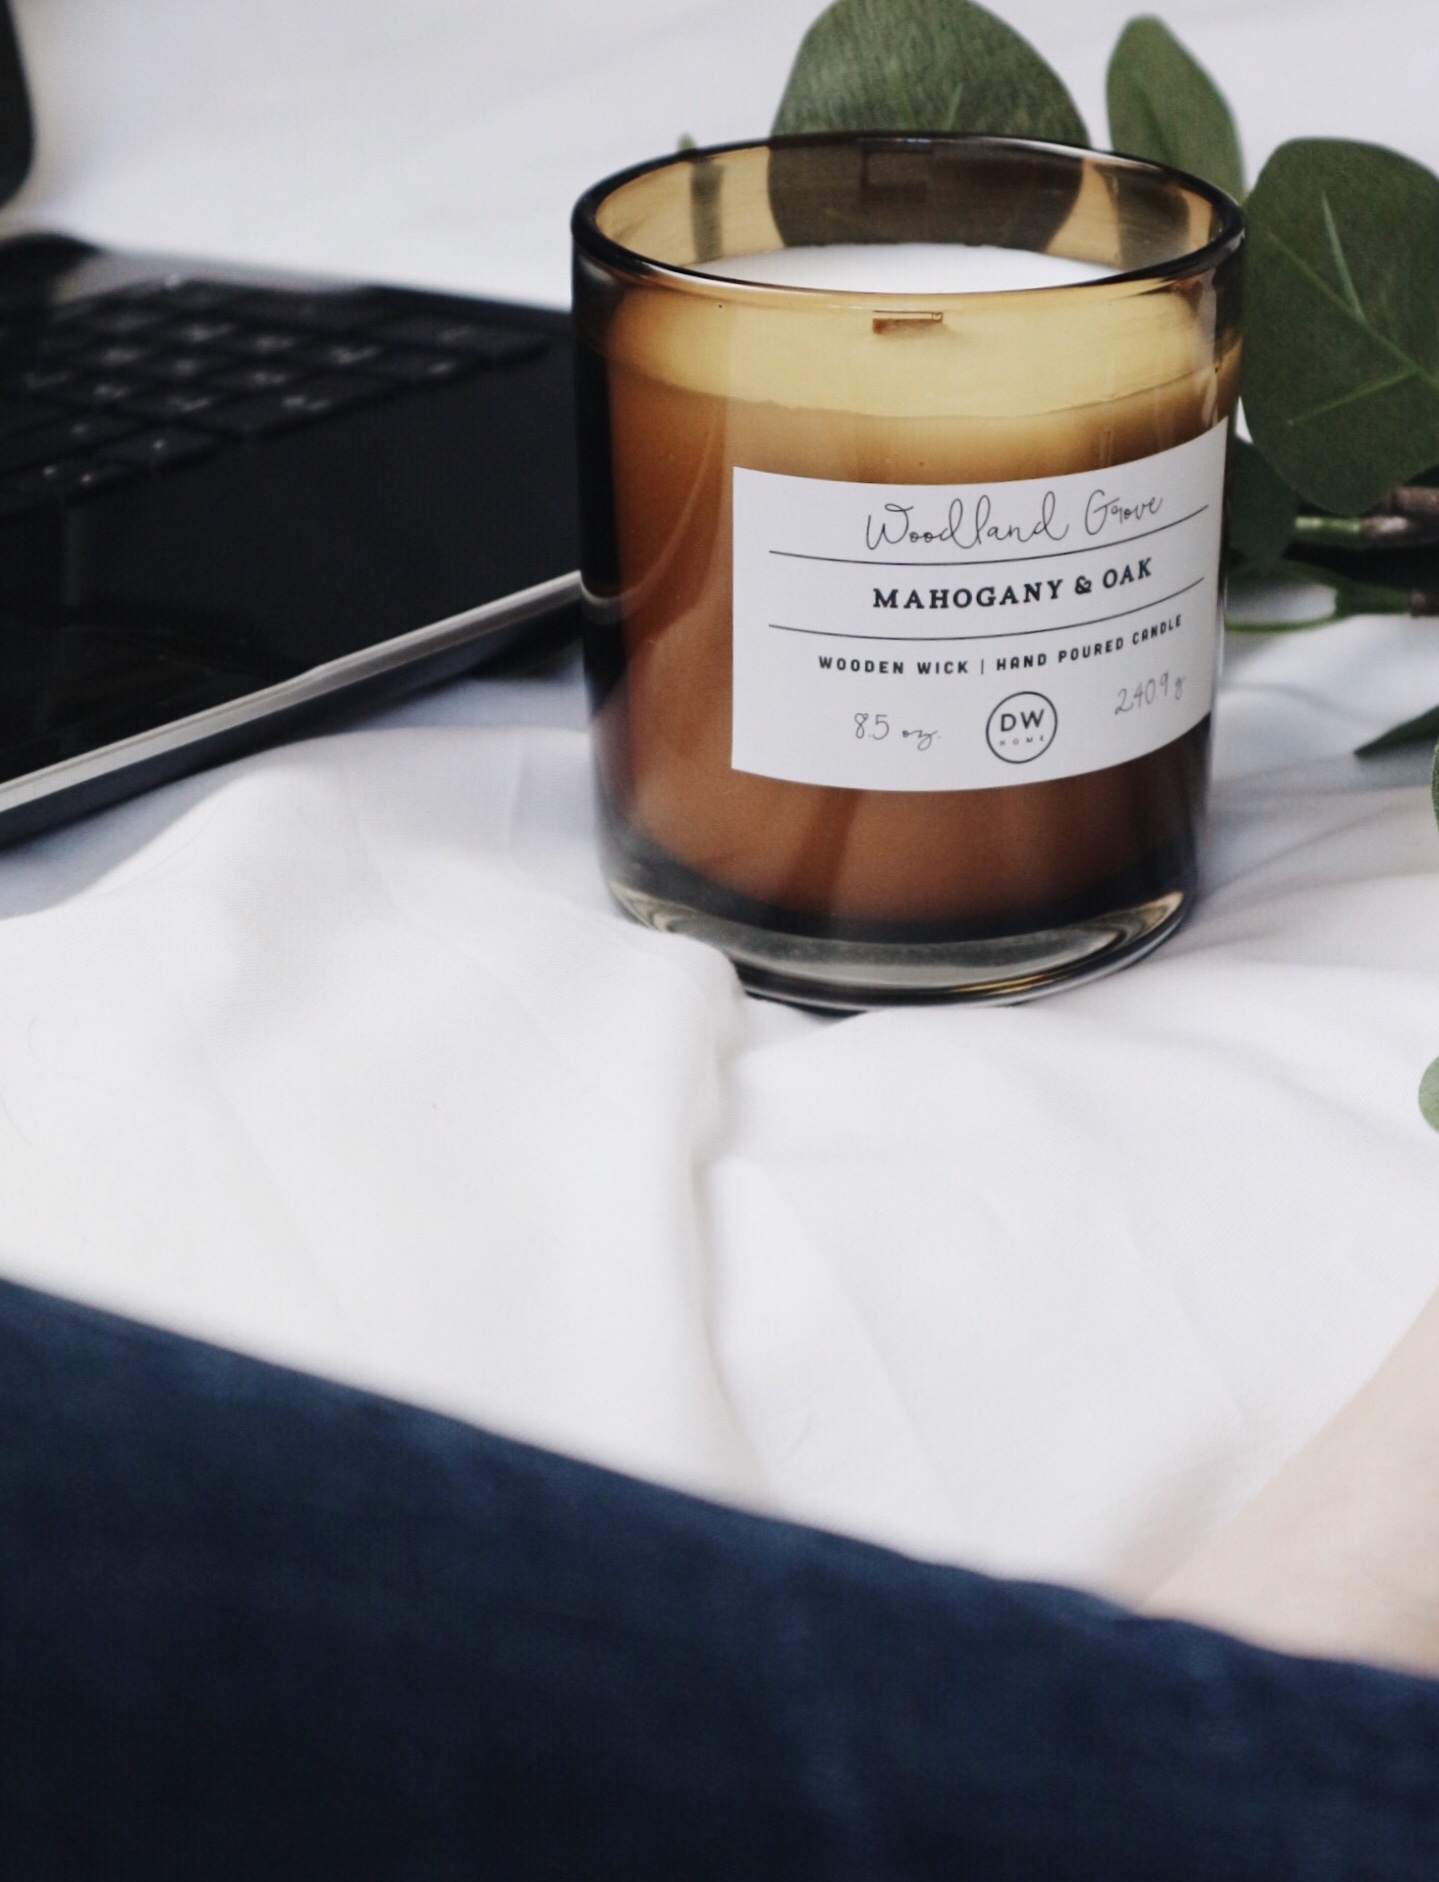
With product photography including flatlays I actually take them on my bed as my bedroom is one of the lightest rooms in the house. I have a massive white board that I use which is actually a table top I got from IKEA and then I have some white material I put over the top as the table top is more cream than white and I couldn’t deal with that.
How I edit my photo’s
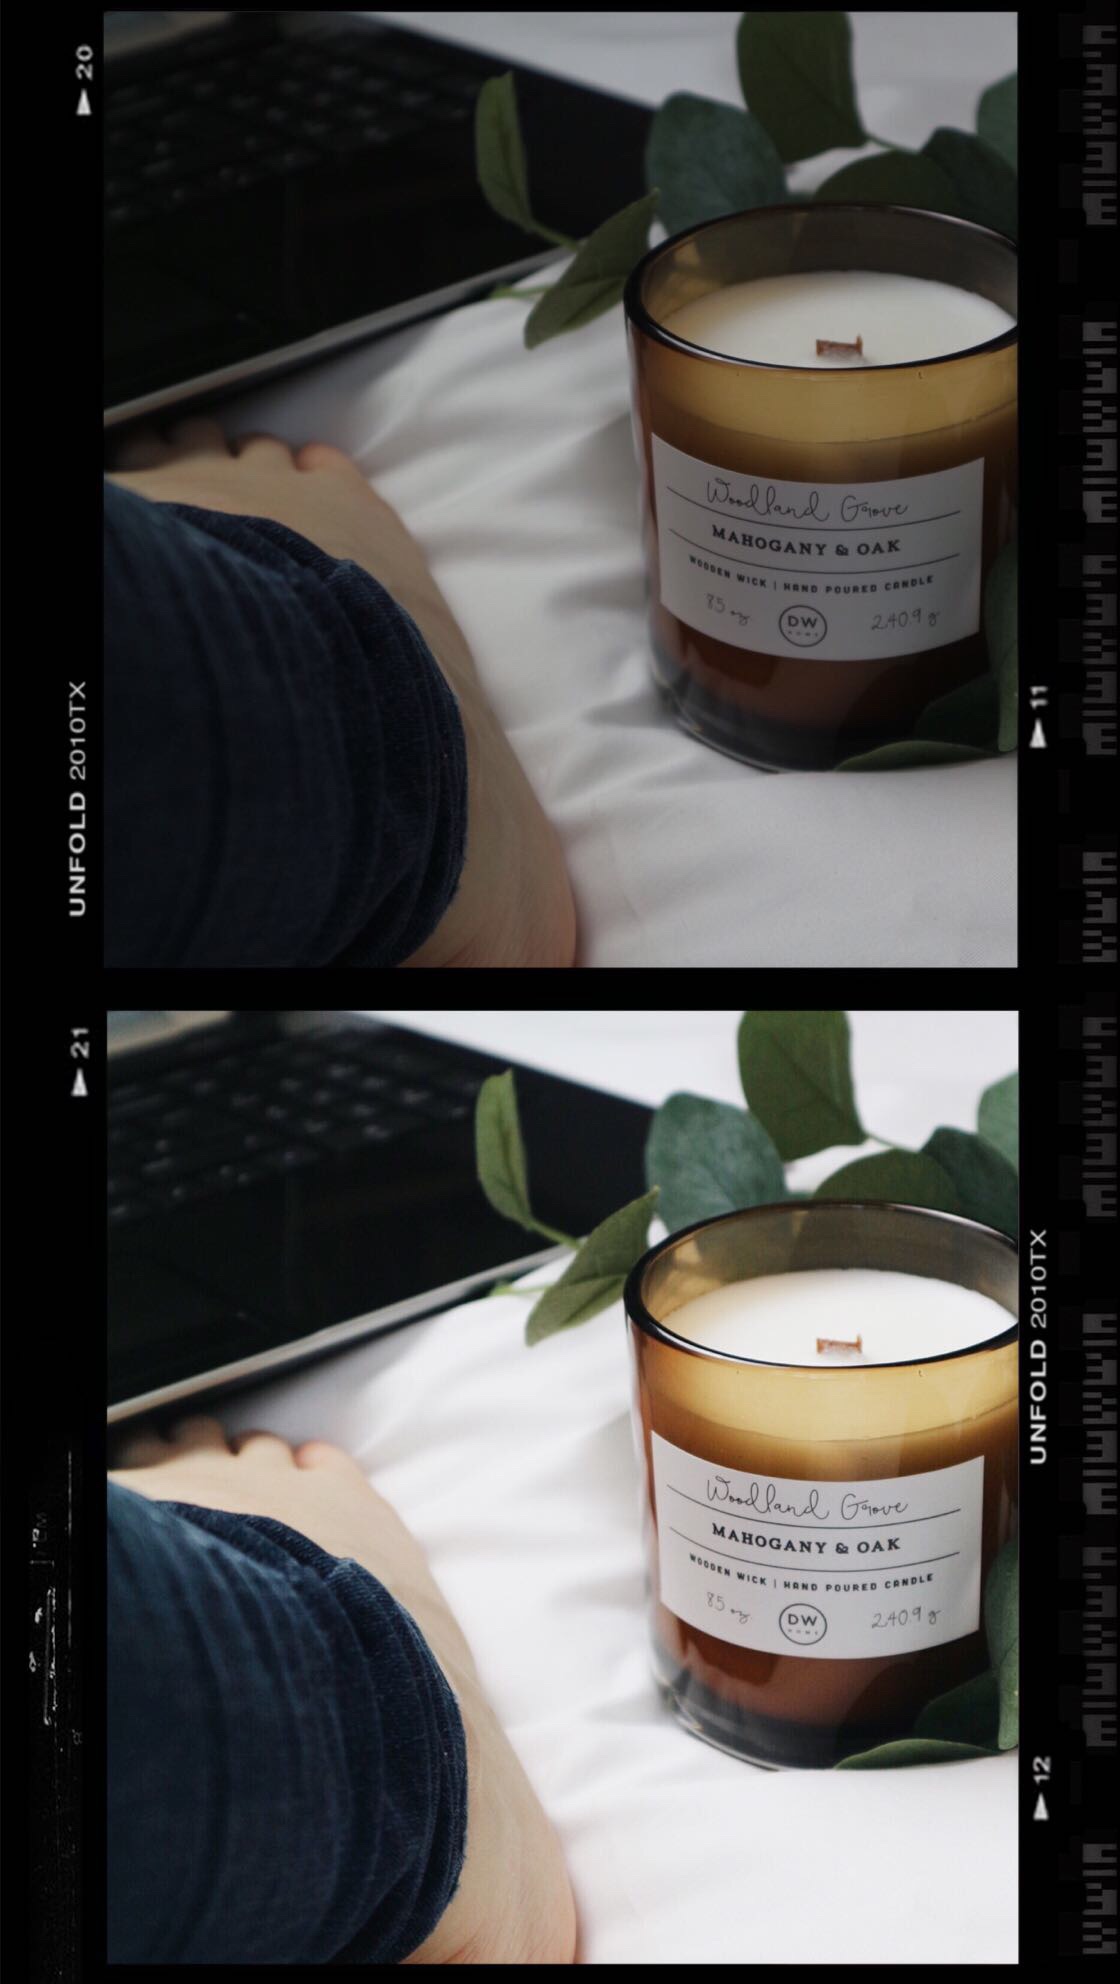
My editing process is quite simple really. I use three main apps which are Facetune, ColorStory and VSCO although I won’t use all of these if I don’t need to as there’s no point editing a photo if it doesn’t need to as it’ll alter the quality.
I’ll always start in ColorStory and brighten if I need to but sometimes if my photo is already quite bright I’ll just skip to VSCO. Oh also if my photo isn’t straight I’ll try and align it in ColorStory. Anyone else get stressed if you can’t get your photo straight even though you’ve been trying for 20 minutes? No just me. Okay then.. Facetune is normally my next stop although if I haven’t used a white background I’ll just skip this step as all I use Facetune for is to whiten the white background as usually it isn’t as white as I thought it was when taking the photo.
VSCO is normally my last stop but this is the app I spend the most time on. Before I used to edit each photo by itself but I’ve learnt recently you can save your edit on a photo so now I save myself a bit of time and just copy and paste the edits on all my photo’s. I can usually tell as soon as I upload a photo to VSCO if it will fit in with my ‘theme’. I always try and use neutral colours, for example: greens, browns gold and white.
My editing process on VSCO:
• Use the A6 filter at +6
• Exposure -1
• Contrast +2
• Sharpen +4
• Temperature +3
I’ll play around with the colours as well if needed, depending on the photo but they’ll just be little adjustments nothing too major so just if the sky is a little too bright I’ll bring the saturation down for example. My go to filter on VSCO is A6, I have used HB1 before but much prefer A6, it just goes much better with my photo’s.
Obviously with every image I tweak things differently depending on what I’m working with and the lighting. I’m not overly keen on VERY edited photo’s but that’s just my personal opinion. I do think my editing is very simple and doesn’t take me massively long unless I’m being very picky. I do sometimes stress over how my photo’s go in my feed but that’s just me haha.
Tips for product photography
1. Try and shoot in natural lighting. I know in winter it’s kind of impossible as it’s gets dark so early but it gives you the best light possible and even better when it’s overcast! When shooting in blue skies I always seem to get a blue tinge to my photo’s and when it comes to editing, it takes me way longer and stresses me out. Obviously you could buy some soft box lights which would make life so much easier for you. I have one and it’s a lifesaver.
2. Take more than one shot. When I’m taking my photo’s I always shoot more than just once. Sometimes the difference between an OK and a great photo is your angle. Just experiment with angles, it doesn’t matter if you take 3 or 103 as long as you’re happy with the end result!
3. Props are your friend. Props can make a photo and you kind of want to make it look very natural as if those props would have been there anyway. I normally add my laptop to a corner of the photo or just some jewellery as I like to keep my photos quite simple. Props help you tell a story, therefore making them more interesting.
4. Keep your background simple. As I said above I use a big plain white background and I like to keep it simple. If the background is something very plain then it’ll keep your product in focus. Although if you don’t like some texture to your photo’s, go into a homeware store and pick up some wallpaper samples as these will as just a little something more than just the white background!
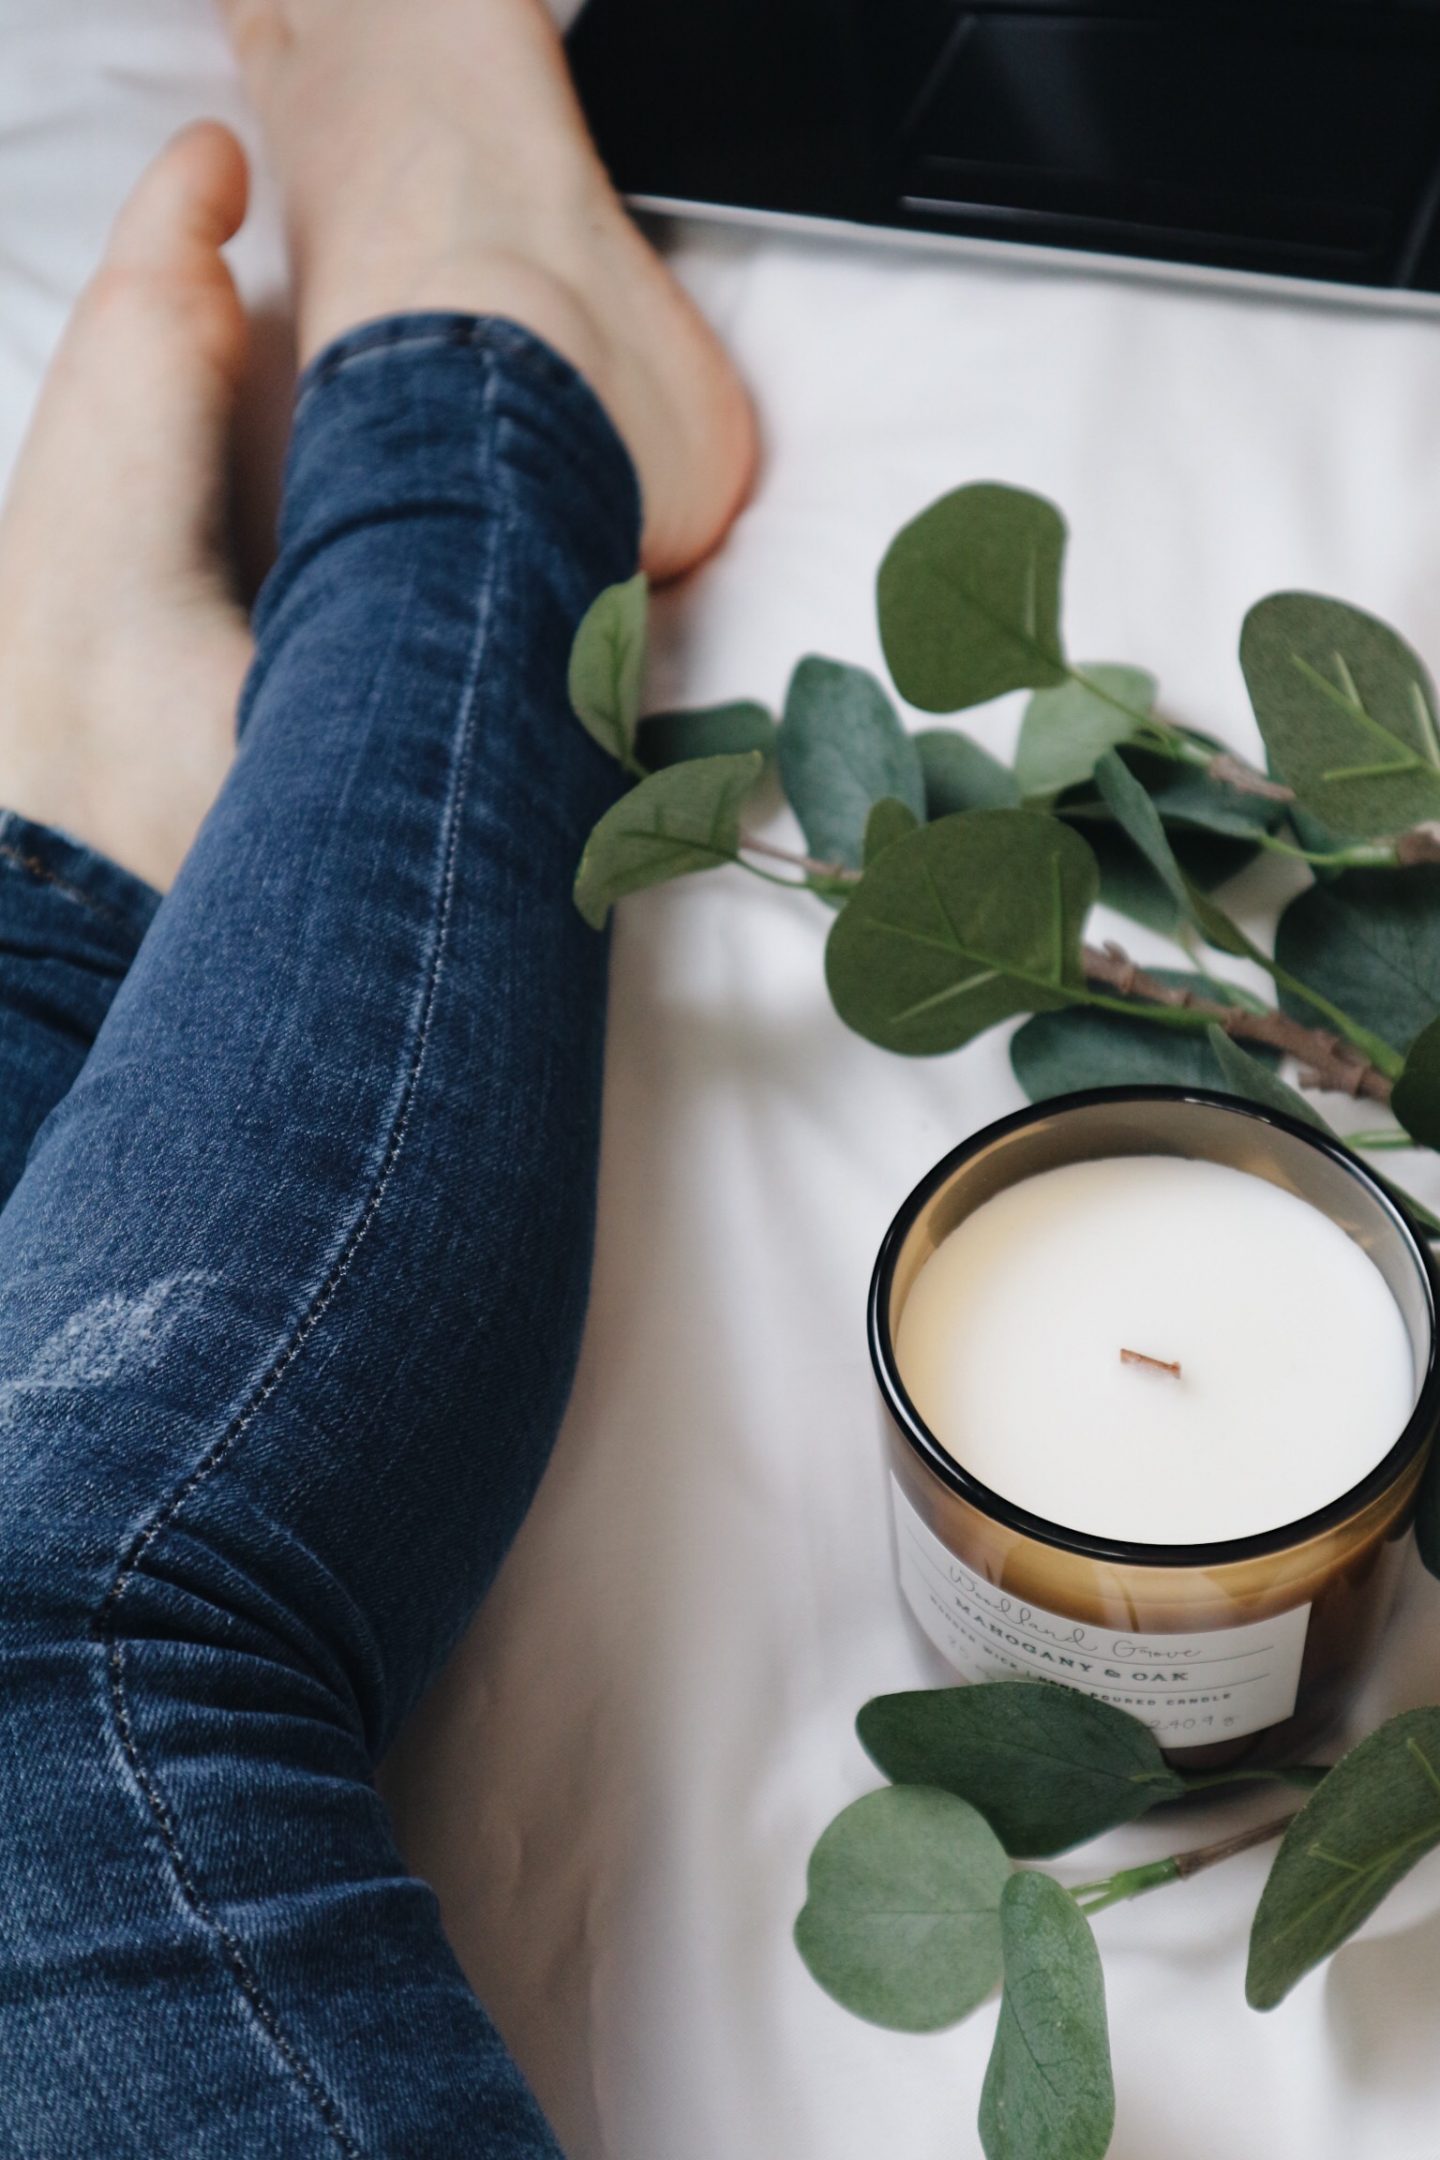
That’s it! That’s how I take and edit my Instagram photo’s. I hope you enjoyed and maybe it was even a little bit helpful?! I always love seeing how other bloggers edit their photo’s, I always find it super interesting.

You can find me over on instagram, why not have a little scroll while you’re there?
You can also subscribe via WordPress or email to catch more of my posts.

Your insta feed is gorgeous and i love seeing how people create their images!
Thank you lovely! I know, it’s so interesting to see everyone’s different styles x
I always use VSCO filters on my photos, A6 especially – its the perfect filter for product photography I feel!
Lucy | Forever September
I haven’t found another filter to beat it and I completely agree, it does seem perfect for flatlays and product photo’s 🙌🏼
I love seeing how people edit their photos, I love your feed! I didn’t know if VSCO was worth it but I really like the sound of it
I know, I find it super interesting as well! VSCO is amazing and definitely worth downloading x
This is ultimate photo editing goals! Thank you for sharing your tips with us! 😘
Awh, this is so sweet! Thank you lovely x
Your editing is so lovely! Thank you for sharing your process <3 I love seeing how different instagramers edit because it's such an interesting process.
Awh, thank you! x
Your Instagram feed is beautiful, I love the tones of your images! I love seeing how people edit there pictures 💗
Awh, thank you so much! I’m trying so hard with all the colours etc. x
Awwh Samanta! Your photos are beautiful and you’ve some really good tips here, especially for beginners.
I used to not bother editing photos too much but then I found light room and how easy it was to use and it really changes the game doesn’t it. I haven’t used VSCO yet but definitely have to give it a try.
Ellen,
elliebearescapades.blogspot.com
Thank you so much! I’ve heard Lightroom is amazing and I’m glad you love it! Yes, editing can be so simple but makes such a difference x
Great tips and your photos are beautiful! I have followed your blog and look forward to reading more of your posts 🙂
Laura
cornishmaidblog.com
x
Thank you so much! x
Love this, your photos are great! Absolutely love VSCO, especially A6!
http://www.sophiapatel.co.uk
VSCO is SO good! I only found A6 a few months ago but I’m always using it on my photo’s now 😍
Your photos are so lovely! Great to have an in-depth post about how you edit, as I’m pretty useless at photography and I’m always wanting to try new software.
Xo Zoe | http://www.savagebeautyblogger.blogspot.com
I definitely didn’t expect to go so into it as much as I did, I just kept writing haha but I’m so glad it’s kinda helpful! Thank you x
It’s always interesting to read about how people edit their pictures. It’s interesting that everyone has their own style – not like gingham is the answer to everything, hehe. Oh man, I was obsessed over faux fur at one point that I bought a piece of it for flatlays, hehe. Love that you’re sharing your settings from VSCO.
Nancy ♥ exquisitely.me
I could sit for hours and see how everyone edits their photo’s haha. Omg, it’s so weird when you finally get your style and then have to buy props to go with it. Thanks lovely x
I love your Insta feed! ColorStory is my go to app when it comes to editing for Insta. If I’ve taken the photo with my camera I usually edit it a bit on Lightroom first though xx
Anu | Based On blog